
Whether you’re a beginner or a seasoned cyclist, you may be interested in bike pegs. While BMX bike pegs are most common on stunt bikes, you can also install them on other models for various reasons.
This ultimate guide will provide everything you need to know, including selection and installation tips. Whether you want to do tricks on mountain trails or in the skatepark, you’ll be a bike peg pro by the end of this article.
Key Takeaways
- Bike pegs are small rods that stick out from the wheel axle and are mostly used on BMX bikes to enable riders to do tricks, such as grinding.
- There are three basic steps to installing bike pegs: removing the nut, installing the peg and putting the nut back on.
- Metal pegs are best for street riding while plastic is best for cycling and doing tricks in a skatepark.
- Standing on bike pegs is not recommended as it can damage the wheel axle and cause safety hazards.
- Pegs can be installed on any type of bike, but they are not suitable for mountain bikes as they can damage the frame, derailleur, spokes, and fork.
What Are Bike Pegs?
So, what exactly are bike pegs? You have most likely seen pegs on BMX bikes as they are popular to use on stunt models.
To put it simply, bicycle pegs are those small, long rods that stick out from the wheel axle. They can either go on your bike’s back or front wheel and are used to center the rider’s weight.
You can buy several categories of pegs; however, most cyclists will invest in metal or plastic pegs. I will explain the difference between these two materials below.

Why Would I Want to Add Pegs to My Bike?
There are a few reasons you may want to install pegs on your bike. The main purpose that BMX riders install pegs is to do stunts and tricks (and have fun).
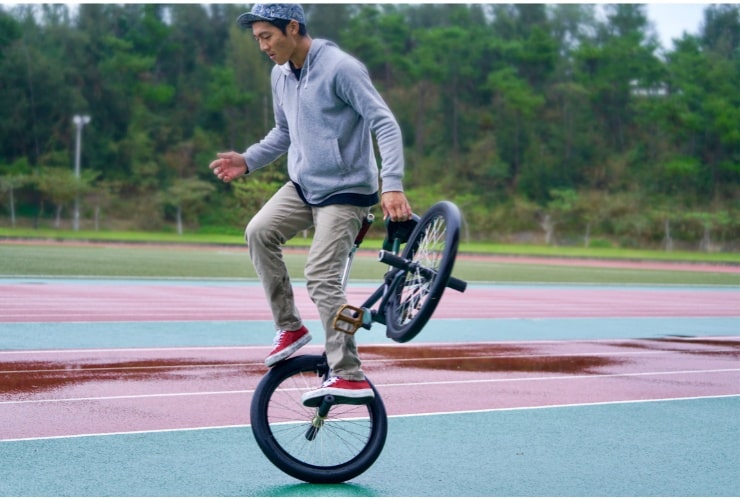
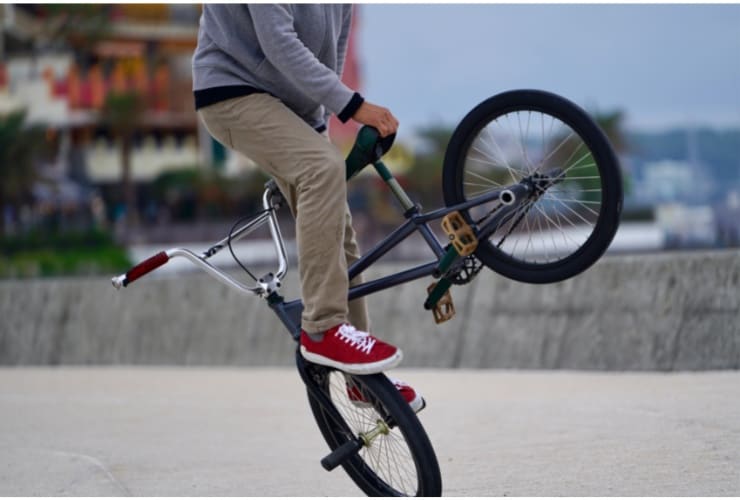
The main two tricks that BMX bike pegs allow riders to do are grinding and riding on them. Grinding refers to when a BMX rider uses their pegs to slide on a smooth surface like a rail or a bench. Some tricks also involve standing on the pegs, including a wheelie and a manual.
BMX stunt pegs also help riders to center their weight better over the wheel. This increases the stability of the bike, making the bike easier to ride and control when doing tricks such as a basic jump or dirt jumping.
Some cyclists also add pegs to be able to carry more weight on the bike, such as another passenger or even some cargo. However, as I’lll discuss below, you must be careful when riding with another passenger.
How to Choose the Right Peg for Your Bike
If BMX bike pegs sound like a great addition, you may be eager to visit your local bike shop. However, since there are many different types of pegs, you’ll need to know how to choose the right one for your specific model.
Keep reading to find out what factors to consider, including your bike type and your riding style. If you still aren’t sure what kind to get after reading this section, you can also visit your local bike shop to ask the experts about what one is right for you.
Type of Bike
It may come as a surprise that you can install pegs on any type of bike, including mountain bikes and racing bikes. However, different pegs work best for different models.
Generally, there are two different sizes of wheel axles. The first and most common size axle is 14mm which you can find on most stunt and street bikes. On the other hand, many racing bicycles will have a 3/8th inch size axle.
Before you buy BMX pegs, double-check the size of your axle; this will help you avoid spending money on pegs that won’t fit properly.

Riding Style
Another factor to consider when choosing pegs is your riding style. Bike pegs come in various sizes; your riding style will help you choose the right size for you.
First of all, BMX pegs come in differing lengths, the shortest being four inches and the longest being around five inches. (The most popular length is between four and four and a half inches.) Pegs can also differ in diameter. The average diameter is between 35 and 38mm.
When it comes to size, smaller bike pegs will mean they can hold less weight. Furthermore, the longer the peg, the more areas, and surfaces you can grind on with your bike.
One last thing to mention is that if you plan on doing a lot of grinding, try to avoid threaded pegs, as they may eventually cause damage to the wheel axle due to high pressure and force on the threads themselves while performing stunts.
Which Bike Pegs Are Better: Plastic or Metal?
The two main types of BMX pegs you’ll see at your local bike shop are plastic and metal pegs. So which type is better? Generally speaking, both are a good choice as each type is meant for different types of riding.
Plastic pegs work well for those who mostly ride in skateparks. The plastic material will feel much more smooth while grinding and will leave less damage on the skatepark equipment. Another perk is that it is easy to replace plastic BMX peg covers when they start to wear out.
Something to keep in mind is that plastic pegs come with two different types of cores, including aluminum alloy and steel. Aluminum is lighter than steel but less durable.
On the other hand, metal pegs are ideal for street riders. These pegs are heavier, much more durable, and will last longer on the streets. A popular choice is chromoly steel pegs.
How to Install Bike Pegs
Now that you know what kind of bike peg is best for you, it’s time to learn how to install it. This section will provide everything you need to know, including all the tools you need and an easy-to-follow step-by-step guide.
Tools Needed
You will be happy to hear that you only need a few tools to install bike pegs. All you will need is a socket wrench or a long sprocket. You may also need to use the spacer that should come with your bike’s BMX pegs and a deep well socket or extender if the nuts are hard to reach.
Step-by-step Guide
Installing BMX pegs will be easy, even if it’s your first time doing it. Take a look at the steps below.
Step One: Set up Your Bike
The first thing you’ll need to do is prepare your bike to start the installation process. Try to find a dry area with lots of space to work. Once you find a spot, turn your bike so it’s standing upside down.
Step Two: Front Wheel Installation
You can start by installing your first BMX peg on the front wheel. (Just skip this step if you’re only installing pegs on your back wheel.)
The first thing you’ll want to do is take your socket wrench and remove the front wheel axle nut. If your regular socket doesn’t work, use the deep well socket or extender. Then you can install the bicycle peg.
It is important to avoid cross-threading the axle during this step, so make sure to install it smoothly and slowly. You should also make sure the peg is very tight.
After the peg is on, simply put the nut back in. Repeat this step for the other side of the front wheel. Now the installation process is complete!
Step Three: Back Wheel Installation
The first few steps will be similar to step two regarding removing the axle nut and installing the BMX peg and nut.
Something different for back wheel installation is that you must keep an eye on the brakes and ensure they are still lined up after you tighten all the parts.
You will also need to make sure that there is still space between the brake pads and ensure that the back wheel doesn’t move and is in place after tightening everything back in.
How to Remove Bike Pegs
Now that you know everything about installation, how do you remove the pegs? Whether you want to install new ones that better fit your riding style or simply want a break from them, this section will tell you exactly how to do that.
You’ll only need two tools for this process, including a socket wrench and a screwdriver. Once the tools are ready, find a spacious area and flip your bike upside down. (This isn’t necessary but will make the process much easier.)
First, grab your socket wrench and insert it into the BMX peg. Turn the socket counterclockwise to loosen it and remove the axle nut. Take off the peg and insert the nut back on.
If you have threaded pegs, you’ll follow the same steps but use the screwdriver instead of a socket.
Bike Pegs FAQ
Can I Stand on My Bike Pegs?
When it comes to standing on bike pegs, there seem to be conflicting answers in the bike community. The short answer is yes, you can stand on bike pegs. However, it is not recommended as it can introduce safety hazards.
First of all, your BMX pegs may not be strong enough to hold a person’s body weight and can thus damage the wheel’s axle. The peg could also brake when someone is standing on it, which may lead to an injury.
This factor may also depend on whether you have metal or plastic pegs. Since metal is stronger, investing in those kinds of pegs may be better if you intend to stand on them.
Another thing to keep in mind is that if you have a second rider standing on the BMX pegs, it may be hard for the cyclist to balance at slow speeds, which could also lead to safety hazards.
With all that being said, many BMX riders advise not to stand on the pegs as they are meant for resting your feet and doing stunts and tricks.
What Is the Weight Limit for Standard Bike Pegs?
Whether you want to hold a passenger or simply intend to grind or slide on your BMX pegs, you may be wondering about weight capacity.
Generally, each specific product will tell you the weight capacity. However, most BMX pegs will have a capacity of 100 to 200 pounds. The weight limit will depend on a few things, including the size, make, and material.
Can You Put Bmx Pegs on a Mountain Bike?
While cyclists generally install pegs on BMX stunt and street bikes, you can also install them on a mountain bike. However, this may not be a good idea as pegs can actually damage the model as they are not made for this add-on feature.
You could end up damaging the frame, derailleur, spokes, and fork of the bike and possibly the wheel’s axle.
If you do end up installing pegs, make sure never to have passengers, as the bike’s frame is not as strong as BMX bikes and can’t carry as much weight.
If you’re really bent on installing pegs on your mountain bike, there are a few factors to look for. If your bike has a steel frame, a long, strong axle, and is single-speed, it won’t be as risky to customize it with BMX pegs.
Final Thoughts on Bike Pegs
Pegs are installed on the wheel axle and help to distribute and balance the rider’s weight over the wheel. Most cyclists use them to improve their BMX stunts.
While you can technically put pegs on any bike, they are best for stunt, street, and race bikes, as those models are designed for these types of accessories.
You only need a long sprocket or a socket wrench to install pegs. Simply remove the nut on the wheel axle, install the peg, and tighten the nut back on.
Be sure to share this article and leave a comment on whether you prefer plastic or metal pegs!