
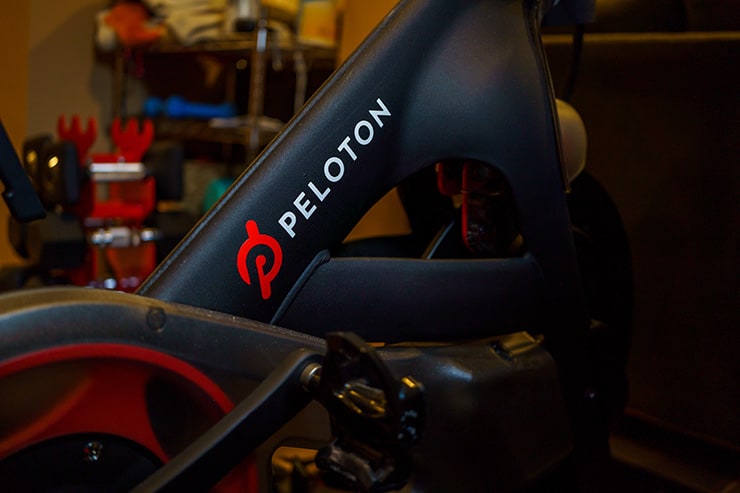
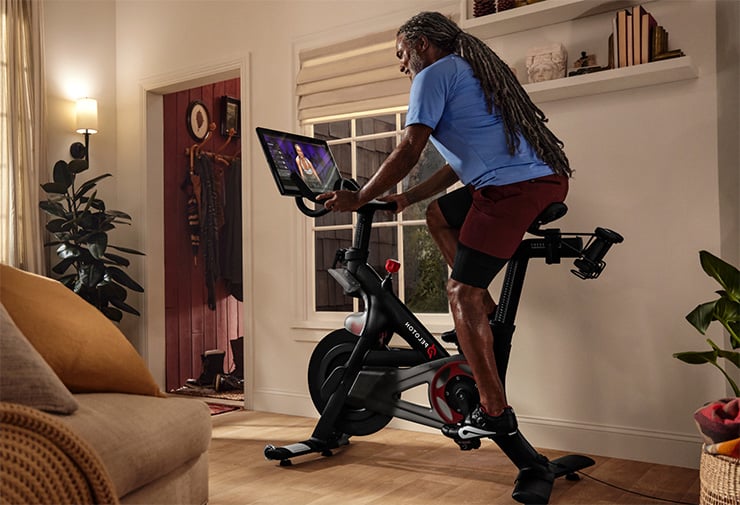
The time has come to replace your Peloton bike pedals. Maybe you’re an ideal Peloton patron, and during your monthly pedal inspection, you noticed some damage to your pedals or jerky movement on your rides. Perhaps you’ve had your Peloton bike for a couple of years and realized you’ve gone as long as possible without replacing your pedals.
Whatever the case, you need to replace pedals on any stationary bike as part of regular maintenance – even the widely revered Peloton bike! This article explores the materials you need and the steps to take for a quick and easy pedal replacement. You’ll be locking in your cleats on your brand-new pedals in no time, ready for rides smoother than ever.
Key Takeaways
- You have to replace your Peloton bike pedals as part of regular maintenance, ideally once a year or when you notice damage or jerky movement.
- You need a 15mm box-end wrench, new pedals with a 9-inch spindle length, and an 8mm Allen wrench to replace the pedals.
- The left pedal is reverse-threaded, which means you need to turn it clockwise to remove it and counterclockwise to install it. The right pedal is normal-threaded so you do the opposite.
- You should not over-tighten your pedal bolts, as this could lead to breakage and difficult removal in the future.
- You can use other pedal brands as long as they have a 9-inch spindle length, but this may void the warranty on the pedals.
What You Will Need to Change Your Peloton Bike Pedals:
Besides a wrench and some new pedals, there’s not much else you need to take out of your toolbox. You simply need:
- 15mm box-end wrench
- Look Delta Peloton Pedals with 9 inch spindle length
(Note that you can use other pedal brands as long as they also have a 9 inch spindle length. See more below in Frequently Asked Questions)
It’s also possible to use an 8mm allen wrench. However, a 15mm box-end wrench will make the procedure easier, as this fits over the pedal gap without catching on the side of the pedal or crank arm.
Be sure not to choose an adjustable wrench when loosening your Peloton’s pedals. Adjustable wrenches and regular pedal wrenches are wider past the jaws, towards the back. These kinds of wrenches will be difficult to fit the narrow space of the pedal bolt.
How to Change Your Peloton Bike Pedals: Step-by-Step Instructions
Congrats – you’ve gathered the materials and are ready to get down to business. Making the decision to change those bike pedals is half the journey!
Before you begin, it’s good to know that the left pedal of all Peloton bikes come reverse-threaded. All that means is when removing the pedal, you’ll need to turn it clockwise instead of counter clockwise. This is not how you remove regular bike pedals. Follow this procedure to ensure you are changing your pedals precisely. Check out the video below for visual help.
Removing Old Pedals:
Here are the steps to follow in order to remove the old pedals on your Peloton bike, so that you can install new ones.
- Turn the resistance knob on your Peloton bike all the way to the right to lock the flywheel and crank.
- Grab your 15mm wrench and position the tool over the pedal crank arm gap of your right pedal. Hold the tool straight up at a 90 degree angle to the pedal bolt. This well prevent cross-threading of the pedal bolt. It is much easier to understand this with a visual, so reference Peloton’s video above for help.
- Turn your right pedal counterclockwise. Once the pedal becomes loose enough, you can remove it with your hand.
- Follow the same procedure for the left pedal, but turn your left pedal clockwise, since it is reverse-threaded. Again, hold up the wrench at a 90 degree angle and crank. The pedal will quickly become loose enough for you to pull it off with your hand.
Installing New Pedals:
There is no need to grease the pedal thread or crank arm before proceeding. The most important takeaway is to not over-tighten your pedal bolts, which could lead to breakage and difficult removal in the future.
- Ensure your Peloton bike knob is cranked all the way to the right to lock the flywheel and crank. If you come directly from the above process, it should still be locked.
- Inspect the threads in the crank before installing your new pedals. Threads in good condition have deep, even grooves. If yours are not even or deep, consider replacing the crank arm before proceeding.
- Determine which pedal belongs to the right crank and which belongs on the left side. The pedals should come marked. R indicates a right pedal while L indicates a left pedal.
- Grab your new right bike pedal, and insert it into the crank arm. Turn your right pedal a quarter turn counterclockwise, then rotate the pedal clockwise until it’s too difficult to turn by hand.
- Use a 15mm wrench to tighten the pedal until you can no longer move the wrench. It is super important to not overtighten the pedal bolt at this step. As soon as you can’t see the pedal threads anymore, give the bolt a simple cinch and then stop. Pedals typically have a built-in tightening system, so the pedals will naturally tighten.
- Repeat steps 4 and 5 with your left bike pedal, but be sure to rotate the pedal a quarter turn clockwise at first this time, so the threads catch. From there, rotate the left pedal counterclockwise.
NOTE: If at any time in the process, it feels like your pedal isn’t going in, it could mean that the threads in the crank arm or pedal are damaged. In this case, unscrew the pedal and inspect it and the crank. You will likely need to purchase new crank arms or pedals and repeat the process.
Once both pedals are in, congrats – the job is done. If you encounter any issues during the process, Peloton encourages you to chat with their team here.
Frequently Asked Questions:
When Should I Replace My Peloton Pedals?
How frequently you should change your Peloton pedals varies depending on frequency of use and riding intensity, but the standard time frame is once a year. This is routine maintenance to ensure your Peloton bike remains up to standard and there aren’t any hazards that could compromise your rides.
What is the Standard Size of Peloton Pedals?
Peloton pedals have a 9 inch spindle length. This is the main factor in selecting the correct pedals for the Peloton, even if they are not Peloton brand pedals. Many spin bikes are usually made from these standard lengths, so that replacements are quick and simple.
Can You Put Shimano Pedals on a Peloton?
It is possible to install Shimano pedals into your Peloton, but you will need to adjust your bike to use these gears. The Shimano brake pedal has different axles than the pedals on the bike, and the old wheels will need replacing. More information on changing gear ratios for a Peloton bike is available on Peloton’s website here.
Does Changing the Pedals Void Peloton’s Warranty?
This depends on what kind of pedals you use. The truth is that changing your pedals out to ones that Peloton doesn’t provide or sell will void the warranty on the pedals. The rest of the bike’s warranty will still be upheld. However, when switching to a Peloton pedal, your warranty remains secure.This is certainly something to keep in mind if you want to look into pedal brands cheaper than Peloton’s.
Can I Change Peloton Pedals for SPD Pedals?
Yes, you can change Peloton pedals for SPD pedals but there are a couple things to keep in mind before you go through with the switch. You can buy adapters for your Look Delta cleats that allow for compatibility with SPD pedals, but you cannot buy adapters for your pedals if you own SPD type cleats.
This means you can purchase aftermarket reversible pedals that are compatible with SPD and Look Delta cleats to install on your Peloton bike. However, this is a route to take only if you know you prefer SPD cleats, and remember that the pedals always need a 9 inch spindle length.
Final Thoughts
Replacing your Peloton bike pedals is essentially the same process with most bike types, stationary or not. However, the specific reverse threading of Peloton left pedals is a departure from normal bikes.
With a 15mm box-end wrench, the procedure is simple, as long as you avoid over-torquing your pedals. Remember to change pedals annually for optimal longevity of your bike.
We hope these instructions leave you feeling confident to tackle this task. While pedal replacement may seem daunting, it’s actually only a 5 minute process at most. Remember to comment below if you have any questions, tips, or tricks.