
Do you have a vintage bike but don’t know what to do with it? Are you thinking of dabbling in bike repair but don’t know where to start? You’ve come to the right place.
This article will describe the bike restoration process in eight easy steps and offer a few helpful tips to make the process more smooth.
Restoring bicycles is easier than it may seem – and it’s fun too! Whether you have an old racing bike, single-speed bike or road bike, you’ll be able to make any old bicycle look brand new with these tips.
Key Takeaways
- Restoring an old bike can be a fun, rewarding and economical project, but it requires a lot of time, patience and tools.
- The first step is to inspect the bike for any damage, rust or corrosion that may make it unsuitable for restoration.
- The next steps involve disassembling the bike, stripping off the old paint, priming and painting the frame, cleaning and greasing all the parts, and replacing any worn or broken components.
- The final step is to reassemble the bike, check for any loose or misaligned parts, and test ride it to ensure everything works properly.
- Some tips for a successful bike restoration are to wash the bike first, set a budget and purpose, understand the amount of work involved, and ask for help when needed.
Why Restore an Old Bike?
You may be surprised to hear that one of the main perks of bike restoration is saving money. It can be a lot cheaper to restore old bikes than buy a new one. However, this only works if you have a budget and make sure you don’t go above $200. Most bike restoration projects can be done with this amount.
Another perk of bike restorations is personalization. Unlike buying a brand new bike, you can choose what parts to use, what colors to paint it and add any customizations you want.
Finally, the restoration process of taking apart and putting the bike back together is one of the best ways to learn more about your bicycle; it will be the best hands-on way to educate yourself.
Tools Needed for Bike Restoration:
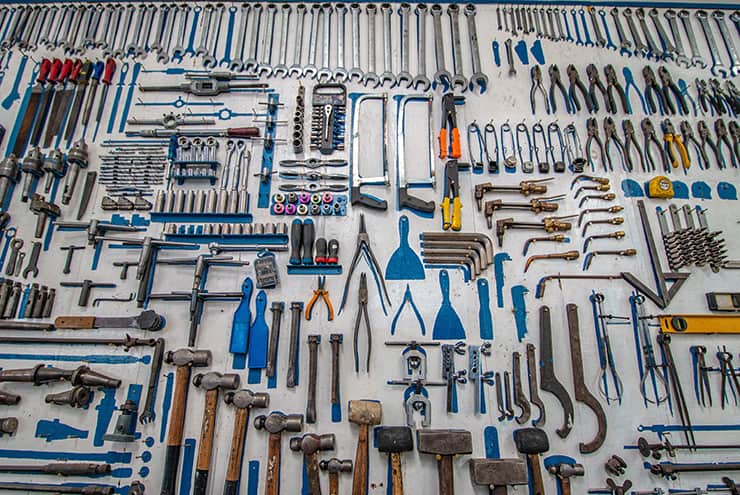
Before you start the restoration process, make sure you have all the tools on hand. This section will review everything you need, including specialty tools, for most restoration jobs.
- Allen keys
- Bike lubricant
- Pliers/side cutters
- Screwdrivers
- Hammer
- Anti-rust primer
- Chemical paint remover and spray paint
- Sandpaper (aluminum oxide paper is the best)
- Wet and dry paper
- Wrench and spanner set
- Masking tape
- Crank puller
- Bike chain tool
- Handlebar tape
- Cleaning materials (paper towel, wet wipes and sponges)
Step-by-step Guide to Restoration
While bike restoration can be rewarding, it won’t be easy. This section will help break down the process into eight easy steps. Just take one step at a time, and you’ll have a brand-new-looking bike in no time.
Step One: Bike Inspection

The first and most important step is to inspect your bike. The reason why this is so important is that your bike may be too damaged to restore. If this is the case, the last thing you want to do is waste money on tools and parts when you’ll eventually have to scrap the project.
There are a few important parts you will need to inspect. First, spin the front and back wheels to see if they are in good shape. Watch for any buckling, worn rims or broken spokes.
The headset and bottom bracket are also two parts you’ll need to check. Try rocking the components and bike side to side and front to back to see if there are any knocking noises or other movements.
Step Two: Disassembling Your Bike
After you have decided the frame and other parts are in good enough condition, it’s time for disassembly. While this process will be pretty straightforward, as you’ll mostly be untightening and removing screws and bolts, there are a few things to keep in mind.
First, make sure to have a designated spot to put the screws and bolts after removing them, whether that is Ziploc bags or a metal tray. Second, make sure to label every part you remove; this will save you a lot of time later.
Step Three: Prepare to Prime
Step three includes paint stripping and removing rust. To prepare your bike frame for priming, you’ll need to use sandpaper and a paint stripper to remove old paint.
This process may take a few days. Most bikes will have a few layers of paint, so prepare to remove multiple layers. However, be careful and watch for the metal, as sandpaper can damage the bare metal.
The next thing you need to do before priming is a rust treatment. Your typical old bicycle and other vintage bikes will have a lot of rust. For this step, you’ll need to grab your wet and dry paper.
Simply wet the paper and start to work on all the areas of surface rust you see. If you find some challenging areas on the frame, you may need to purchase a chemical rust treatment.
Check out this video for more rust treatment tips.
Step Four: Priming
Now that your frame is all clean, it’s time to prime. The first thing you need to do is use masking tape to cover all the areas you don’t want to prime. Before applying the primer, you’ll also need to find a dry area to prop your bike up (either your garage or somewhere outside will be the best choice).
Apply your primer of choice; two coats should do it. Make sure to leave a day in between each coat to let it fully dry.
Step Five: Painting
Before you start painting, you’ll have to make sure the frame’s surface is rough; this will help increase the adhesion of the paint. You can do this by using damp wet and dry sandpaper. Be careful not to press too hard; otherwise, you’ll remove the primer.
While you’re probably eager to pick up the spray paint, make sure to wipe the frame down one more time before applying the paint. You can do this with a regular cloth. This will help remove any leftover dust or grime that will prevent the paint from applying smoothly.
Make sure to have fun with this step! There are lots of spray paints to choose from. When applying paint, you can apply up to four coats. Make sure to leave time for each coat to dry.
Step Six: Cleaning All the Parts
This is when you’ll need to take time to clean every part you’ll be reusing. Some materials you need for this step are wet and dry sandpaper, gloves, a chemical paint stripper, a kitchen sponge and bike lubricant.
There are four basic steps you should take with each component: paint stripping, cleaning, degreasing and re-greasing.
I know what you’re thinking; step six is going to take forever. Even though it’ll take a lot of time, it’s important to complete this step fully as it will ultimately help your bike to run like new.
Old grease and grime can really bog down your parts and cause future problems that will be annoying to fix.
Step Seven: Replacing Parts
Restoring old bikes often means replacing many bike parts. If you’re not sure what parts you’ll need to replace, there are a few parts that people commonly replace when they are restoring an old or vintage bike. These parts are brake pads, tires, cables and chains and gears, among some other components.
When you buy and replace parts, keep in mind that you don’t necessarily have to buy brand-new parts. A good Craigslist find can go a long way.
While each project will be different and have different parts that need replacing, refer below for the order you should reinstall parts.
- Cranks and bottom bracket. First off, you’ll want to thoroughly clean the bicycle bracket with a toothbrush. (White spirits also work well for cleaning if you have some.) When it comes to both parts, heavily lubricate each before installing them. This will make the process a lot easier.
- Chain. Make sure to only put the chain back on when you have the derailleur and sprockets installed. The bicycle chain can be a bit tricky to work with as it tends to get very slippery when lubricated. You may want to consider getting another person to help you with this step. Keep in mind that you might need to use the bike chain tool to shorten the chain by a few links.
- Brake pads and cables. Installing the brake pads should only take a few minutes or so. You’ll need pliers and gloves for this job as you want to prevent getting any skin oil on the brake pad. Installing brake cables will take a bit longer and will be easier with a second person. While the process is relatively simple, you’ll need to make sure you leave enough extra cable for when the handlebars turn fully to the left or right.
- Wheels. Even though the wheels are the biggest parts, they may be one of the easiest parts to re-attach. However, making sure you install them properly is critical, as wheel misalignment can lead to safety hazards as well as shifting and bike handling problems.
Step Eight: Final Check
Congratulations! You’ve successfully restored an old bike. This will be a good point to do a final check and make sure everything is working the way it’s supposed to.
When it comes to the final check, make sure to check all the nuts and bolts and make sure everything is tight.
You may also want to take a wet cloth and wipe down the bike one final time, as there could be a bit of dirt or grime from installing everything.
Finally, take the bike for a short ride, paying special attention to any odd noises or sounds that shouldn’t be there.
Bike Restoration Tips
Now that you know all the steps to restore your bicycle, take a look at these bike restoration tips. From washing your bike to asking for help, there are a few ways to make the process easier.
Wash Your Bike First
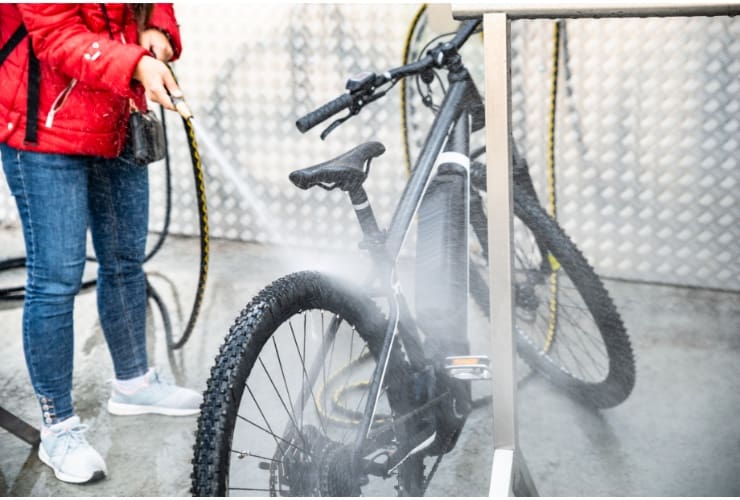
While this step isn’t absolutely necessary, it can save you a lot of time and energy in the end. Ideally, you should wash your bike first to get rid of all the dirt. All you need is some warm water and a sponge to do this.
Once you have all the dirt off, you can inspect the bike for corrosion. Washing your bike is essential as it can be easy to mistake corrosion for dirt; this way, if your bike has too much corrosion, you’ll know right away instead of after you spend money on new parts.
Determine Your Restoration Budget and Purpose Before Starting
There are two main reasons for restoring your bike, including restoring to sell it and restoring to use it for yourself. If you want to resell the bike, you should set a budget to make sure you end up making money, not losing money.
It can be easy to get excited and start spending money on upgraded parts you didn’t think you wanted before. All these parts will add up and could leave you with a deficit before you know it.
While some people restoring bikes are okay with this, as their purpose is to restore and build a high-quality bike, others won’t be as happy with the outcome, such as those wanting to resell the bike for a profit.
Understand the Amount of Work It Will Take
While restoring old bicycles can be a lot of fun, it is also a lot of work. Before embarking on a project like this, you’ll need to understand the amount of work it will take.
Restoring a bike can take anywhere from a few weeks to a month or even more if you’re waiting on certain parts to come in. Furthermore, it takes a lot of work and dozens of steps to restore a bike successfully.
By being aware of the amount of work this process takes, you are less likely to become overwhelmed and quit mid-way through. Having realistic expectations will make the process a lot more smooth.
Ask for Help When You Need It
Restoring a bicycle to working condition is not an easy task, especially if this is your first time trying. Something to remember during the process is to ask for help when you need it.
Whether this means finding youtube tutorial videos, asking an experienced friend or calling your local bike shop, take advantage of experts in the field to avoid damaging your bike or making the process longer than it should be.
Final Thoughts on Bike Restoration
Restoring an old bike may seem overwhelming, but it doesn’t have to be. I hope this article has helped break down the process.
There are about eight steps to follow, including a bike inspection, dissembling your bike, preparing to prime, priming, painting and cleaning, replacing parts and the final check.
There are limitless possibilities for restoring old bikes, so take this information and have fun. Be sure to leave a comment if you enjoyed this article!